Tips · 12 min
How to Install Engineered Wood Flooring: A Beginner's Step-by-Step Guide
2026 m. rugpjūčio 12 d.
The two installation methods
Floating installation (click system)
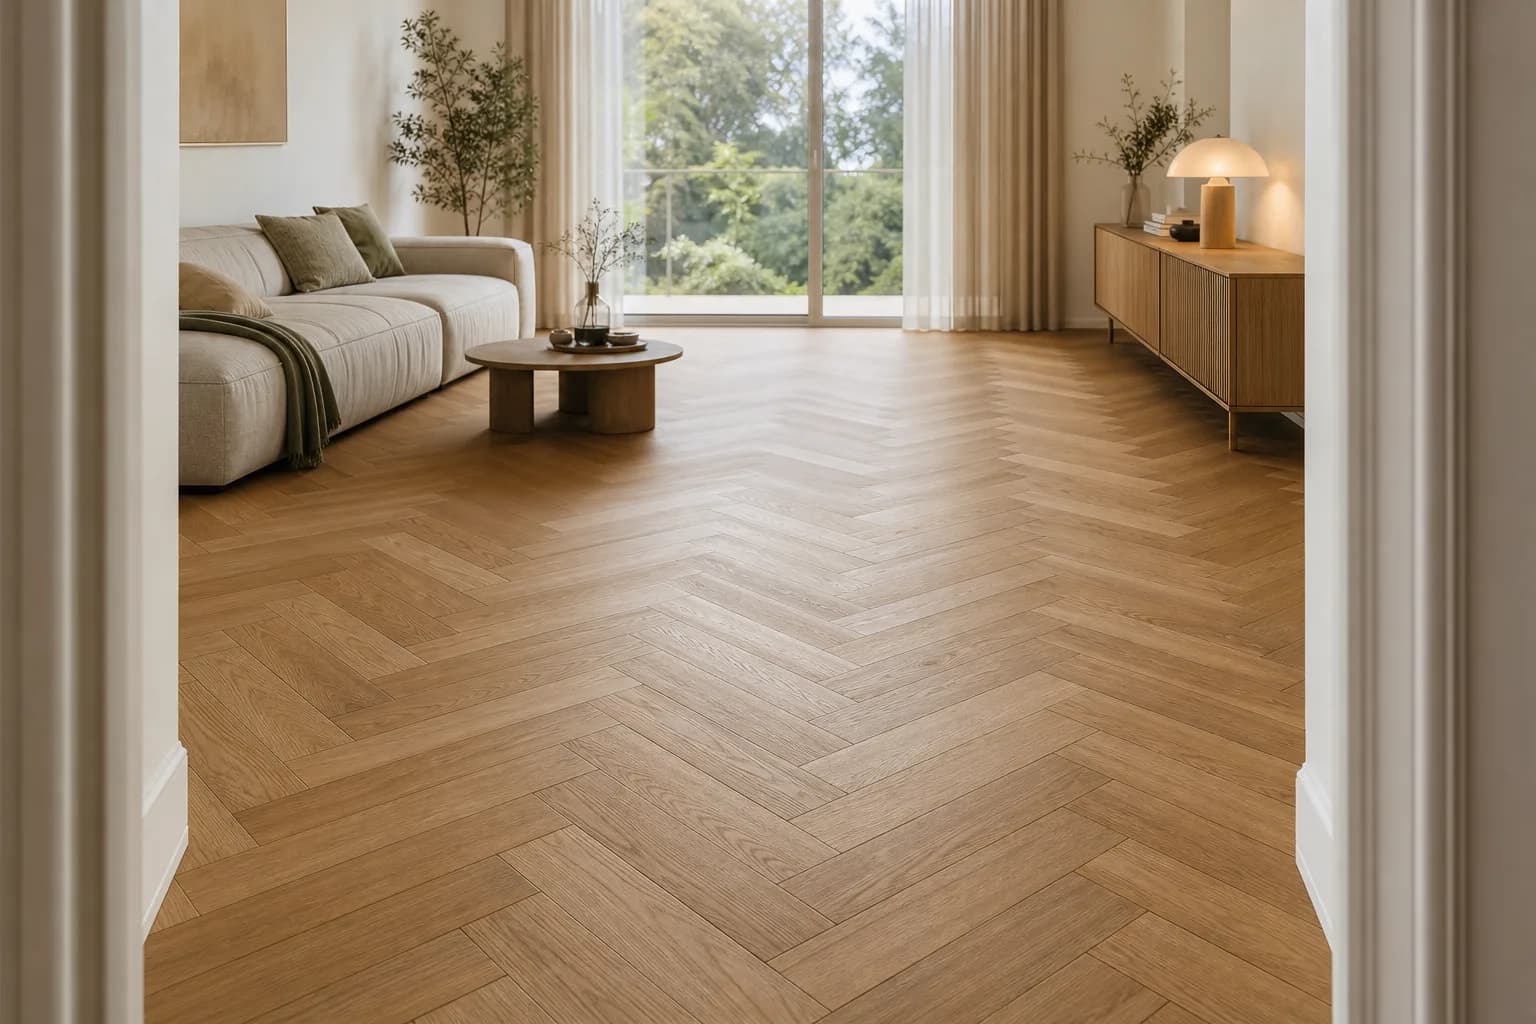
Click flooring is usually installed as a floating floor. The boards are not glued to the subfloor — they rest on an acoustic underlay. The advantages: it is quick, straightforward and needs no professional. The entire Terris Timber collection features the Drop Down Click system — beginners will manage just fine.
Full glue-down installation
The boards are bonded directly to the subfloor with a dedicated adhesive. This method is strongly recommended for rooms with underfloor heating (more in our underfloor heating guide), as well as for large areas and humid rooms. For the adhesive we recommend Berger Seidle M1X — a German adhesive certified to the EC1 Plus emissions standard.
How much flooring will you need?
The formula: (room length × width) × 1,1 = flooring in m² with a 10 % allowance. Better a few boards too many than too few — unopened packs can be returned within 14 days.
Tools you'll need
- Spirit level
- Sharp utility knife
- Jigsaw or circular saw
- Rubber mallet + tapping block
- Pull bar
- Tape measure
- Set square
- Pencil
Materials you'll need
- Levelling compound (to even out the subfloor)
- Vapour barrier (PE film) — if the subfloor holds moisture
- Impact-sound underlay (for floating installation) — our natural rubber underlay
- Aluminium tape (to join the underlay)
- Adhesive (for the glue-down method)
- Spacer wedges
- Skirting boards
Installing click flooring — 10 steps
1. Prepare the subfloor
The subfloor must be level, clean and dry. Even out any bumps with levelling compound and clear away all debris. Check with a spirit level — the permitted tolerance is 2 mm over 2 m. There is more on this in our article on subfloor preparation.
2. Acclimatise the boards
Store the flooring in the room where it will be laid for at least 48 hours before you start. Keep the packs closed. Temperature 18–26 °C, humidity 40–60 %. This lets the wood adjust to the room's climate — so the boards won't deform once laid.
3. Lay the underlay (floating installation)
If the subfloor is mineral (concrete, anhydrite), lay a PE vapour barrier first. Then roll out the impact-sound underlay perpendicular to the direction of the flooring, taping the joints with aluminium tape. There must be no overlaps or gaps.
4. Apply the adhesive (glue-down method)
Spread the adhesive with a notched trowel in an even, thin layer. Only cover as much area as you can lay within 15–20 minutes — beyond that the adhesive starts to cure. Too much adhesive will make the wood swell.
5. The first row
Start from the farthest corner. The boards of the first row should run straight along the wall, with a 10–15 mm gap to the wall (use spacer wedges). This gap gives the floor room to expand and contract.
6. Cutting the edge boards
Turn the board over and mark the cutting line in pencil against a set square. Cut with a jigsaw or circular saw — work carefully so the visible edge stays clean and the tones still match within a single cut.
7. Row after row
Start each new row with the offcut from the previous one — this gives you staggered joints (no open, aligned edges). A staggered pattern is not only better looking but also more stable. The Drop Down Click system locks the boards together easily — helped along with a rubber mallet and tapping block.
8. Cutting around heating pipes and door frames
This is usually the trickiest step. Start from the side with the heating pipes — you'll have more room to manoeuvre. The cuts will later be hidden by skirting, so they don't need to be perfectly precise.
9. The final rows
Measure, cut and fit the boards using a pull bar — it lets you close up the last row where there is no space to swing a mallet.
10. Fitting the skirting boards
Measure, cut to size and fix to the wall with mounting adhesive. Fill any gaps between skirting and wall with acrylic or silicone sealant — it keeps out moisture and dirt.
The 6 most common mistakes
1. Laying too close to the wall
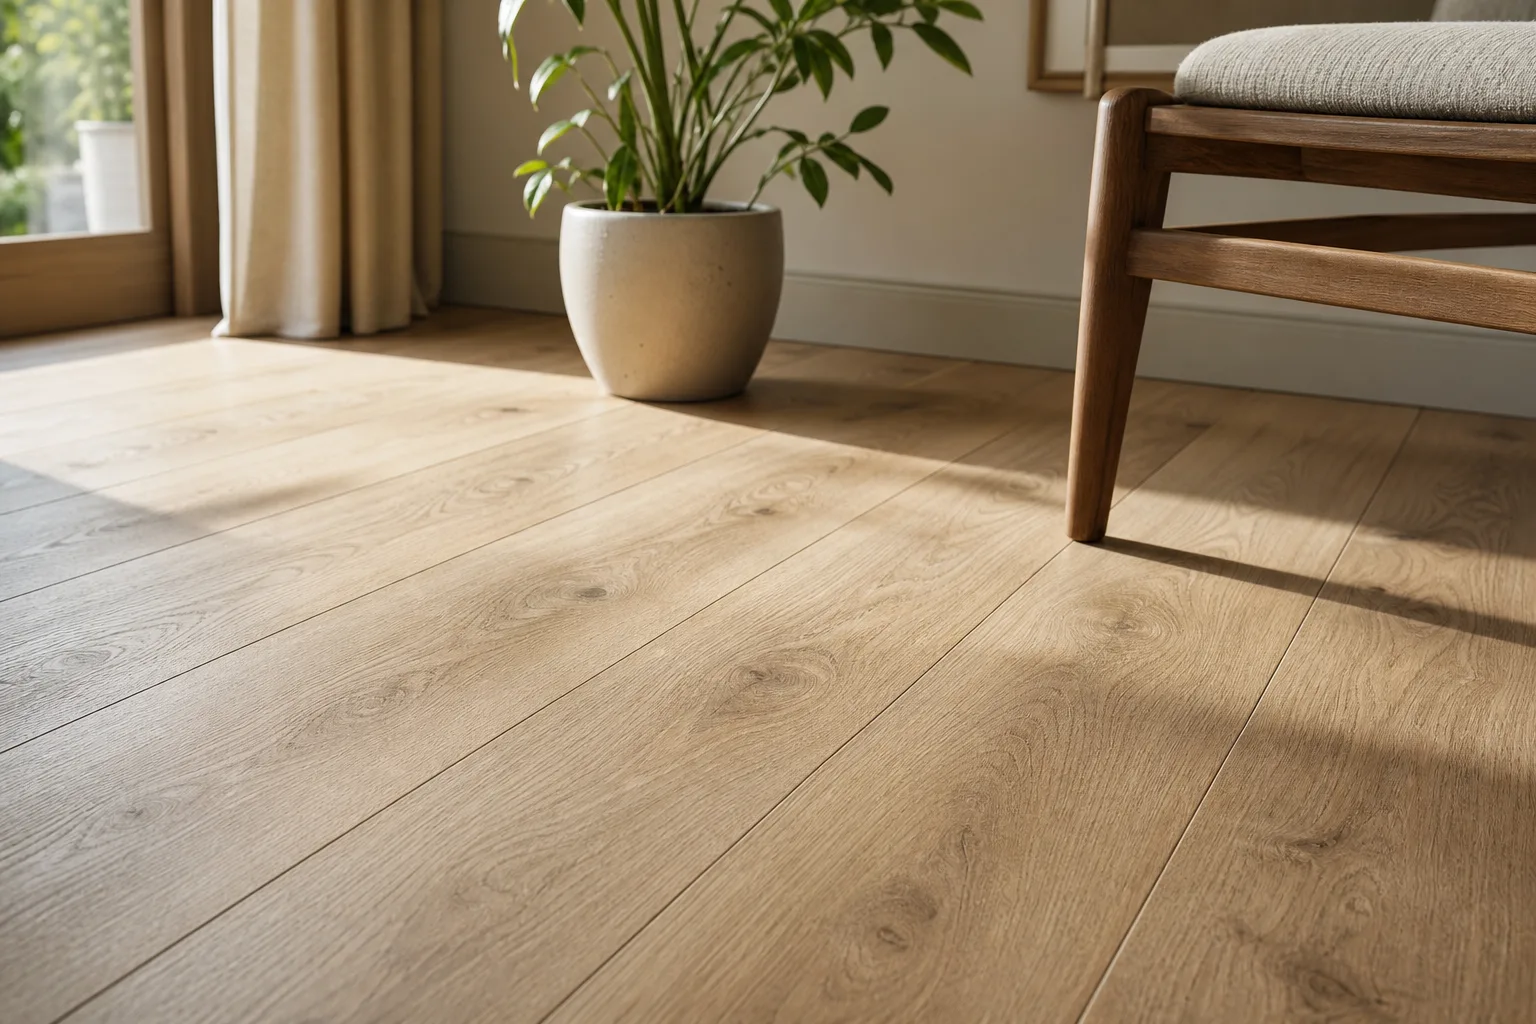
Without a 10–15 mm gap the boards have no room to expand — tension builds up, and the floor buckles or cracks. Never skip the spacer wedges.
2. An uneven subfloor
Unevenness of 2 mm or more makes the floor "breathe" (boards shift underfoot), wears the joints faster and causes deformation. Take your time over the subfloor — it is 50 % of a successful job.
3. Ignoring the floor height
Flooring plus underlay adds 12–18 mm to the height of your floor. Check that the doors still open, and adjust thresholds if needed.
4. The wrong laying direction
Flooring is usually laid perpendicular to the main light source — it hides the joints and visually enlarges the room. Herringbone is a topic of its own.
5. Boards that haven't acclimatised
Don't skip the 48-hour acclimatisation. Without it, the boards will swell or shrink during the first heating season.
6. Cheap flooring
Money saved upfront often turns into an expensive repair bill. High-quality three-layer oak serves for 25–40 years — cheap flooring needs replacing within 5–10 years.
Extra tips
- Mix boards from different packs — variations in colour and grain will spread evenly across the floor.
- Allow enough time — a professional lays 20–30 m² a day; a beginner roughly half that. Set aside 2 days for a small room.
- Do a test run — lay out the first pack without locking it down, so you get a feel for the system.
How much does DIY installation cost?
You save the cost of professional labour (typically 15–45 €/m², depending on your country) — but add the cost of tools, mistakes and your own time. For a 30 m² room:
- Click flooring from our collection: 50–250 €/m² × 33 m² (with a 10% allowance) = 1 650 – 8 250 €
- Underlay: 100–200 €
- Skirting: 100–200 €
- Tools (if hired): 30–80 €
- You save: 450–1 350 € (in professional labour)
FAQ
Can I install the flooring myself?
Yes — anyone with basic tools can install a click-system floor. Glue-down installation is a job for a professional.
How long does it take?
A 30 m² room: one working day for a professional; two days for a beginner.
Do I need gaps at the walls?
Yes — 10–15 mm. They will be covered by skirting later.
Which direction should I lay the boards?
Perpendicular to the main light source — it hides the joints and enlarges the room.
Ready to begin?
Order up to 3 free samples or book a video consultation — we'll go through your project together.